kendallnhurley.com

Welcome to my whimsical world!

Let’s Make Some Split Pea Soup – P.S. I Hate Soup — April 4, 2022

Let’s Make Some Split Pea Soup – P.S. I Hate Soup

Let’s cut to the chase: I don’t think soup is a meal, I think it is a hot condiment that is only good for dipping bread into, and only when necessary. Soup to me a dish I make when I have to use up stuff in my fridge or I have to make a lot of food for people. It’s a good staple food to know how to make, because it is so versatile, but I am extremely picky about eating it.

Kendall, why are you making soup if you obviously dislike it so much? Well, my Norwegian husband loves split pea soup. So does my dad. For them, it’s a comfort food. So while I don’t plan on eating much of the green stuff, I know that they will literally eat it up. Sometimes, food is a labor of love. So let’s make it!

Photo by Farhad Ibrahimzade on Pexels.com

P.S. My recipe is totally vegan, but it is optional to add ham or sausage towards the end if that is your thing.

You will need:

2 cups split peas

Half an onion (I use a sweet yellow onion)

2 large carrots

A few sticks of celery

6 cups of water

2 tablespoons oil

Salt and pepper to taste

To begin, add the oil to a big pot and turn on the heat to medium. Chop your onion into small-fish pieces and sauté in the oil until translucent. Chop and add in the carrots and celery. This is the basis for most soup recipes, and makes a mirepoix, FYI.

Cook for a few minutes, then add in your 2 cups of peas. Pro tip: most grocery stores sell split peas in 2 cup baggies, for less than $2, making this a very cheap meal. Add in the six cups of water, and toss in the spices and salt. I like to make it easier on myself and use spice mixes, like salt-free lemon pepper. Lower the heat to medium low, and allow to simmer for an hour.

Amazingly, this soup becomes a nice much (that’s the best way to put it) after an hour to 90 minutes. Toss in pre-cooked ham, shredded chicken, or slices of sausage if you want. Mix up once more and serve!

I like to serve this with peanut butter and saltine crackers on the side, because that’s how my dad likes it. My husband will eat this hot or cold the next day with tortilla chips.

If I’m going to eat soup, I prefer a thicker puree like this one. It’s cheap and easy to make, and you can freeze the extra to defrost later.

How I use pumpkin + DIY pumpkin purée — October 26, 2019

How I use pumpkin + DIY pumpkin purée

It’s fall y’all! I’ve already written one post this season about squash, but I’m on a train I don’t want to get off of. I’m embracing my inner #basic and eating all the seasonal veggies this year.

While I don’t love pumpkin spice lattes, mostly because I’m not a coffee drinker, I do use pumpkin in a variety of ways this time of year. Actually, I should be using it year-round, but fresh, local pumpkins are cheapest right now. You can always get the canned stuff, but clearly I enjoy taking the longer DIY route. This is how I purée pumpkin/other squash, but it’s pretty simple.

First, I use pie pumpkins. They are sweeter and smaller, and easier to deal with. After washing, I cut off the top like you would if you were carving a pumpkin, then gut it. I save the seeds for roasting, which I do afterwards. Then I use my big knife to cut the pumpkin into approximately four even pieces, then set them on a lined baking sheet and pop them into a preheated oven at 400F for at least an hour. I’ve tried both setting the pumpkin flesh side up and down, and I don’t think it affects the end products much.

Then I wash the seeds and toss them in either seasoning salt or some paprika. These make a great salty snack alternative to chips and popcorn. Or you could use them in a salad! Once the pumpkin flesh is soft and you can stick a fork all the way through it, I take it out and let it cool some. Then I peel the skin off and roughly cut the flesh up. Then I add that with a little bit water to my blender and purée for 20-30 seconds. Pour it into an airtight, reusable container and voilá! Easy as (pumpkin) pie!

Even though it takes longer, I think it is fun and can be worth it to make your own pumpkin purée if you can get local pumpkins. I ended up with four and a half mason jars of purée from two pie pumpkins, which were apiece the cost of one can of the store bought stuff.

What do I do with it all? Well, last night I made a delicious pumpkin soup that was so yummy and simple. I simply heated up a jar of the purée with some veggie broth, added sautéed onion and garlic, popped in leftover roasted veggies and chicken, and it was amazing. And so simple to throw together!

I do plan on making a pie, but my favorite way to consume pumpkin is with a pumpkin spice chocolate chip muffin. These are also super simple to make and are a hit at any party. Simply add the pumpkin in place of egg and oil to a spice cake mix (or you can do it from scratch) and fold in chocolate chips, then bake like normal. These are perfectly sweet and there are dozens of other recipes online you can follow. They are just perfect!

I’m also interested in trying out a macaroni and cheese recipe that incorporates puréed squash, but I haven’t tried it yet. Pumpkin is full of fiber and vitamins A and C, so I feel like those muffins are “healthier” than other recipes. How do you like to eat pumpkin?

#BudgetEating – Butternut squash soup — October 11, 2019

#BudgetEating – Butternut squash soup

There isn’t much better on a crisp fall day than relaxing with a bowl of warm, thick, savory soup. One of my favorite fall veggies is a butternut squash. I tried to go them myself in the garden this year, but I’m stuck buying one from the store or my local farmer’s stand.

Squashes of all kind are perfect in a variety of dishes. One of the accounts I follow on Instagram, Once Upon a Pumpkin, is a registered dietician and has tons of great squash recipes year-round. However, this is my own recipe I came up with last year. Now, I am not a RD, so feel free to add any of your own tips to make this recipe even better.

You will need:

  • Peeler
  • A baking tray
  • Sharp knife
  • Cutting board
  • Large pot
  • Blender

Ingredients:

  • One butternut squash
  • Two tablespoons olive oil (and one more for later)
  • Salt and pepper to taste
  • Rosemary to taste
  • A few garlic cloves
  • 2 cups veggie or chicken broth
  • Half an onion
  • Optional: Paprika or cayenne for a kick!

Step one: Wash and peel the squash. This makes cutting it much easier later on. I usually use a bowl in the sink to catch the peels. Preheat the oven to 425F.

Step two: Chop the squash into disks, then into semi circles. I use another bowl to hold the chunks.

Step three: Coat the squash pieces with the two tablespoons of olive oil and salt and pepper and rosemary.

Step four: Lay the pieces out on the baking sheet. I like to use non-stick for this. Pop them in the oven for 60-90 minutes, depending on your oven.

Step five: Peel and chop the garlic and onion. Sauté in the pot with the other tablespoon of olive oil (you can use other kinds of oil too) until soft.

Step six: Once the pieces of squash are nice and soft, add them in batches to a blender. You can use the broth to help with the blending. Add the mixture to the pot.

Step seven: Stir to combine the mixture and heat through thoroughly. You can add the rest of the broth to make the soup more of a liquid texture. Personally, I prefer this soup on the thicker side.

Step eight: I also like to add roasted veggies, sausage, shredded chicken, or pasta/rice/quinoa afterwards prior to serving to add some texture and additional nutrition. But you can eat it just as is!

I try to keep all my recipes really basic, because cooking doesn’t need to be complicated. You can have someone else help you chop the squash if you are a beginner with knives. You can also use a hand blender instead of a normal one, if you have that.

This soup keeps in the fridge for several days in an airtight container, or put the extra in the freezer for meal prep later on. One squash does make a big batch!

This time of year, squashes of all kinds are in season, so pick up one today and give homemade soup a try! They aren’t expensive, one organic butternut squash should be around $4 and the rest of the ingredients you should have on hand. You can eat this ish for days.

Butternut squash is full of fiber and vitamin A, so it is really healthy. Not only does this soup taste great, especially if you make it your own, it is perfect for the season.


#BudgetEating: My rhubarb soup recipe — October 6, 2019

#BudgetEating: My rhubarb soup recipe

Yes, you read the title correctly! Rhubarb has been used for ages as a sweet and savory ingredient. Technically, it is a vegetable. Personally, I prefer rhubarb pared with sweeter stuff. Pies, candies, jellies – since rhubarb is so tart, it pairs excellently with sugar.

My Norwegian boyfriend introduced me to rhubarb soup after I had more rhubarb than I knew what to do with. My mom always made jams and pies with it, but I wanted to get more creative in my kitchen. In Scandinavia, they love rhubarb, and they serve rhubarb soup either hot or cold.

This recipe is super easy to make and customizable. I actually don’t use measurements for it anymore, because it all depends on how much rhubarb you have on hand. It’s also inexpensive to make, as everyone has access to a stove, water, and sugar.

You will need:

  • Several stalks of rhubarb
  • A pot, knife, cutting board
  • Enough water to cover the rhubarb
  • Some sugar (to taste, I usually use about half a cup)

Step 1: Cut rhubarb stalks roughly. They will break apart in the soup, which you want.

Step 2: Add the rhubarb and water to a pot, along with the sugar. Bring to a simmer, and cook until the rhubarb falls apart. Depending on the color of your rhubarb, the color of the soup will vary in pinkness.

Step 3: Test the soup for desired flavor. You can add more sugar or water, depending on the sweetness. You can also add a little potato or corn starch to thicken the soup.

Step 4: Serving! You can chill it and serve the soup as a refreshing, palette-cleansing dessert with whipped cream, or serve it warm with vanilla ice cream.

Rhubarb soup is subtle in taste but is lovely in the late summer and early fall. You can also make this recipe with pre-chopped frozen rhubarb from last season.

Budget Eating: DIY home grown PICKLES — September 18, 2019

Budget Eating: DIY home grown PICKLES

As some of you may already know, I have been growing cucumbers in my victory garden this year. A few weeks ago, I finally had enough growing and ready to be harvested that I was able to try my hand at making pickles for this year. Now, I am not a huge fan of pickles but I do like dill pickles and so does my boyfriend. I had also never made pickles before so I had to do some research first.

What I learned is that you can use either fresh or dried dill, which is what I happened to have on hand. I also read that you should use apple cider or white vinegar, and you can’t use regular table salt in the brine. It has to be kosher or pickling salt. So I picked all that up, along with a few other things, and got to slicing up my cucumbers. I decided to cut mine into circles, which made sense to me because I plan on using theses in sandwiches and on burgers.

Once I had all my cucumbers washed and sliced, I began preparing my brine. I didn’t use a specific recipe; rather, I ended up combining a few according to what I had and what I recall my mom doing as a kid. I used a 1:4 ratio of vinegar to water, with a tablespoon of sugar and 3 tablespoons of pickling salt. I brought that mixture to a boil and then let it cool in the fridge. Then I added 2-3 cloves of peeled garlic, along with 2-3 tablespoons of dried dill weed and a pinch of pepper to my jars. I used recycled glass jars for this, ones that I’ve been saving from pasta sauces and whatever else over the past year.

Then I stacked in my cucumber slices, making sure to get as many in as possible. I had probably 2 1/2 pounds of cucumbers, which filled 6 big jars. It is important to stack your slices in tightly, so when you add the brine they don’t float to the top and out of the liquid. Then I filled the jars up with the brine and put them all in the fridge, closing the lids tightly. Then I said a prayer that this would work.

They’ve now been in the fridge for not quite two weeks and I check them daily for mold or other spoilage. So far, so good! One thing I noticed in my research is that the pickles need to sit for a little while before you can enjoy them. I know I didn’t cut all the circles evenly, so next time I’ll be sure to do that so they all pickle evenly. That’s not a sentence I thought I’d ever say, but here we are! It was also quite interesting to see how each cucumber was different in shape and size; organic foods are so different than what you can get in the supermarket.

Have you made homegrown pickles before? If so, do you have any tips?

My Favorite Cookie: The history of the macaron — September 12, 2019

My Favorite Cookie: The history of the macaron

As I’ve aged, I’ve lost much of the sweet tooth I had as a child. Most desserts and candy no longer interest me, for whatever reason. I’d rather have some fruit or a piece of a nice brie cheese after dinner than cake, brownies, or ice cream. The exception, however, is the most delightful little cookie in the entire universe: the macaron. Not to be confused with macaroons, which are made with coconut!

Macarons are made with three simple ingredients: almond flour, granulated sugar, and egg whites. There are dozens of different recipes and methods out there, but primarily there are two: the Swiss method and the French method. The Swiss method uses an Italian merengue to create the perfect macaron shell, whereas the French method keeps it more simple. Macarons are notoriously tricky to make. The cookie shells are the epitome of persnickety. It can takes years of practice to perfect the recipe. I have never made perfect macarons, even after countless hours of reading, watching tutorials, and taking a class.

Part of the appeal of a macaron is the amount of effort it takes to make them. This is why in a bakery, they are not cheap. You can expect to pay $2 for just one cookie. The ingredients are expensive and the process is time consuming. This is exactly why macarons are such a luxurious treat.

The anatomy of the macaron consists of two cookie shells sandwiching a filling. Some of the most common fillings are flavored buttercream, chocolate ganache, or thick jam. The possibilities for unique flavor combinations is endless. One of my favorite places to get macarons creates this amazing caramel apple macaron. Macarons can be simple or sophisticated, but they are always delicious.

You can get frozen, factory made macarons at most grocery stores these days. Trader Joe’s, Fred Meyer and Grocery Outlet here in the PNW are places I’ve found them. Even these are not inexpensive, but they are good for parties if you don’t have time to make dinner and dessert and want something impressive to serve your guests.

The history of the macaron is also really interesting. Macarons were first developed by French nuns living near and tending to almond groves. Because the macaron contains almond flour and egg white, the shells are high in protein and actually not that unhealthy. It wasn’t until much later in history that pastry chefs began making macarons and filling the shells. This was when the macaron became an iconic French dessert, and lead to the rise of places like Laudereé as THE place to go to get macarons.

Having been to two Laudereé locations, I can say that personally, I prefer smaller, local bakeries for my macaron needs. Not only will you be supporting a local business, but the quality and passion that goes into making a macaron shines through. I rarely treat myself to a macaron, but when I do, it is heavenly. The crisp outside of the shell breaks into the chewy center, and the filling melts in your mouth, adding to the flavor. It is seriously something you need to put on your bucket list to try.

My favorite flavors of macaron are chocolate-strawberry, rose, and hazelnut. I’ve have definitely tried a plethora of flavors and they are all scrumptious. Macarons are decadent and elegant, but also subtle in how fancy they really are. Just like how a croissant is unseemly complex; the French have really made some extraordinary pastries.

I love the bright colors and delicate nature of the macaron. They have to be, hands down, the ultimate cookie.

My Trip to an Italian Marketplace — August 27, 2019

My Trip to an Italian Marketplace

Last week I was on vacation. My paternal family is predominantly Italian, so when I visit them, we eat real Italian American food. One of my favorite things to do when I visit is go to one of the Italian markets that sell important foods and everything you need to make and Italian feast. This time, we went to one that has everything you could possibly want available for purchase. I mean, this place was gigantic!

A stereotypical grocery store has everything: A deli, produce, flowers, candy and dry goods aisles, a frozen section for ready-made foods, and a counter where you can get lunch. This place was no different, but with a decidedly Mediterranean influence. I had limited space in my suitcase and imported food isn’t cheap, so I picked up a few candies from my childhood that I recall eating. In Europe, candy isn’t loaded with HFCS or artificial flavors and colors, so everything tastes better and is better. I also bought some Baci, which are delightful little hazelnut and dark chocolate truffles that are incredible. Like Nutella on steroids.

Growing up eating Italian food is something that is a big part of my life. At least twice a week I sneak Italian influences into my cooking. What I love about it so much is the way they elevate simple ingredients to complex flavor profiles. I have much to learn, but visiting the marketplace and reading The School of Essential Ingredients by Erica Bauermeister on my trip inspired me to aim to further increase my cooking techniques.

Reviewing Hello Fresh — August 23, 2019

Reviewing Hello Fresh

About a year ago, a friend gave us a coupon for a free week trial of Hello Fresh. You may be familiar with Hello Fresh or one of the many other meal subscription services out there. I cannot speak on any of the others, but I can review Hello Fresh for anyone interested in an honest review of their service and products.

First of all, these types of services are designed for busy people who want to cook or learn to cook fresh, homemade meals but lack the time to grocery shop and meal plan. While I don’t really fit into this demographic, I do think this is a really good idea. Eating healthy can be difficult as a young professional or busy family. Having the food and recipes delivered straight to you cuts out some of the guesswork.

Something else I liked was that you can choose your plan. Different portion sizes and plans cost more, with the 2 person, 3 meal vegetarian option costing the least. You can also choose which recipes you get each week, which I really liked. They send the recipe card which you keep, so if you liked the meal you can remake it. And all of the recipes are straightforward and easy to follow, so any level chef can take them on.

The quality of the ingredients was something I was concerned about, but everything arrived in good shape. The packaging was a little too much, in my opinion, lots of plastic. However, it all arrived in the time it was supposed to, and the cooling packs were still frozen. I definitely kept those and have used them for camping since.

In terms of time, Hello Fresh is supposed to create recipes where the food is prepped and cooked in about 30 minutes. This is another way it is ideal for a busy individual. What I will say, is to read the recipe through first, and lay out the ingredients in order. It is a relatively effective way to prepare a healthy meal in half an hour.

The biggest reason why I did not repurchase a Hello Fresh subscription is the cost. My first box was free, but I decided not to renew. When I crunched the numbers, I can spend less at my local grocery store and have more meals for the entire week than I can with Hello Fresh. I understand the convenience factor is huge for someone who has the budget for it, but it simply is not for us at this time.

Would I recommend Hello Fresh? I certainly recommend trying it out! I still make a couple of the recipes we got in our box, because they were a great hit. If you want to learn how to cook and your lifestyle and budget allow for it, then one of these meal prep services may be a good fit for you.

Due to the cost, but with all the other positive factors (time, quality, and the recipes), I would give Hello Fresh 4 out of 5 stars. It is simple an expense I cannot afford on a weekly basis, and I prefer to and have the time to meal plan and prep myself. However, I can definitely see how this service would be beneficial for some people.

The best handmade gifts to give — July 28, 2019

The best handmade gifts to give

I don’t mean to toot my own horn, but I give really nice gifts. I like to make a lot of them, as I think it adds a thoughtful touch. I do try and personalize gifts to certain people, but I also have some go-to ideas to fall back on when I’m in a pinch.

  • Hand-knit headbands or scarves
    • I like to knit while I watch movies to TV, because it is something for my hands to do when my mind is occupied. Headbands or scarves are both really easy to knit and finish off, and you can get all kinds of yarn nowadays. I am looking into trying new patterns out, but one headband takes me about an hour to make and it is a great way to use up excess yarn.
  • Homemade hot fudge sauce
    • My fudge sauce recipe is amazing, but you can google any hot fudge sauce recipe. What I like about the one I use is that it is super chocolatey and you can add other flavors to it, like mint or orange.
  • Homemade seasonal jam
    • Homemade jam is so much better than store bought jam. My version uses pectin instead of gelatin, so it is also vegan. If you don’t have a garden or orchard, I recommend buying locally grown fruit from a farmer’s market. There are a few ways to keep jam from going off; you can seal the jars with paraffin wax or just freeze it. Just make sure you let it thaw before giving it to someone.
  • A handmade card
    • Sending a handmade card is super thoughtful and they are simple to make if you have the time. I like using pretty washi tape, stamps, different colored cardstock and watercolors to make cards. You can use any craft materials you may already have to make them. Or if you have kids, it could be a fun activity to do together.

christmas xmas gifts presents
Photo by Pixabay on Pexels.com

  • Origami cranes
    • Folding origami cranes has been a hobby of mine for many years now, and I like to give them to people so they aren’t all sitting in my house. There is a Japanese legend where 1,000 of these paper birds will grant you a wish, so I often give a thousand of them away to people battling cancer. And I tuck them in cards as well, as an extra touch.
  • Seasonal fruit bread
    • Baked goods are always nice to give, especially if someone is ill or just moved into a new place. Lately I’ve been making a lot of rhubarb bread. I grow some in my garden and you can chop it up and freeze it to use in baking all year round.
  • Decorated picture frame
    • I like to collect beach glass, shells, pretty rocks, and other trinkets to glue to small picture frames to give people. You could also do this with empty glass jars and make pen/pencil holders.
  • This isn’t handmade, but I like to pass books on to friends that I think will enjoy them too.

Something I like about all of these ideas is that they work for a variety of people and occasions. I try and plan ahead for birthdays and events, but keeping a few things at hand when I do forget something makes life a little easier.

My foolproof banana bread recipe — July 16, 2019

My foolproof banana bread recipe

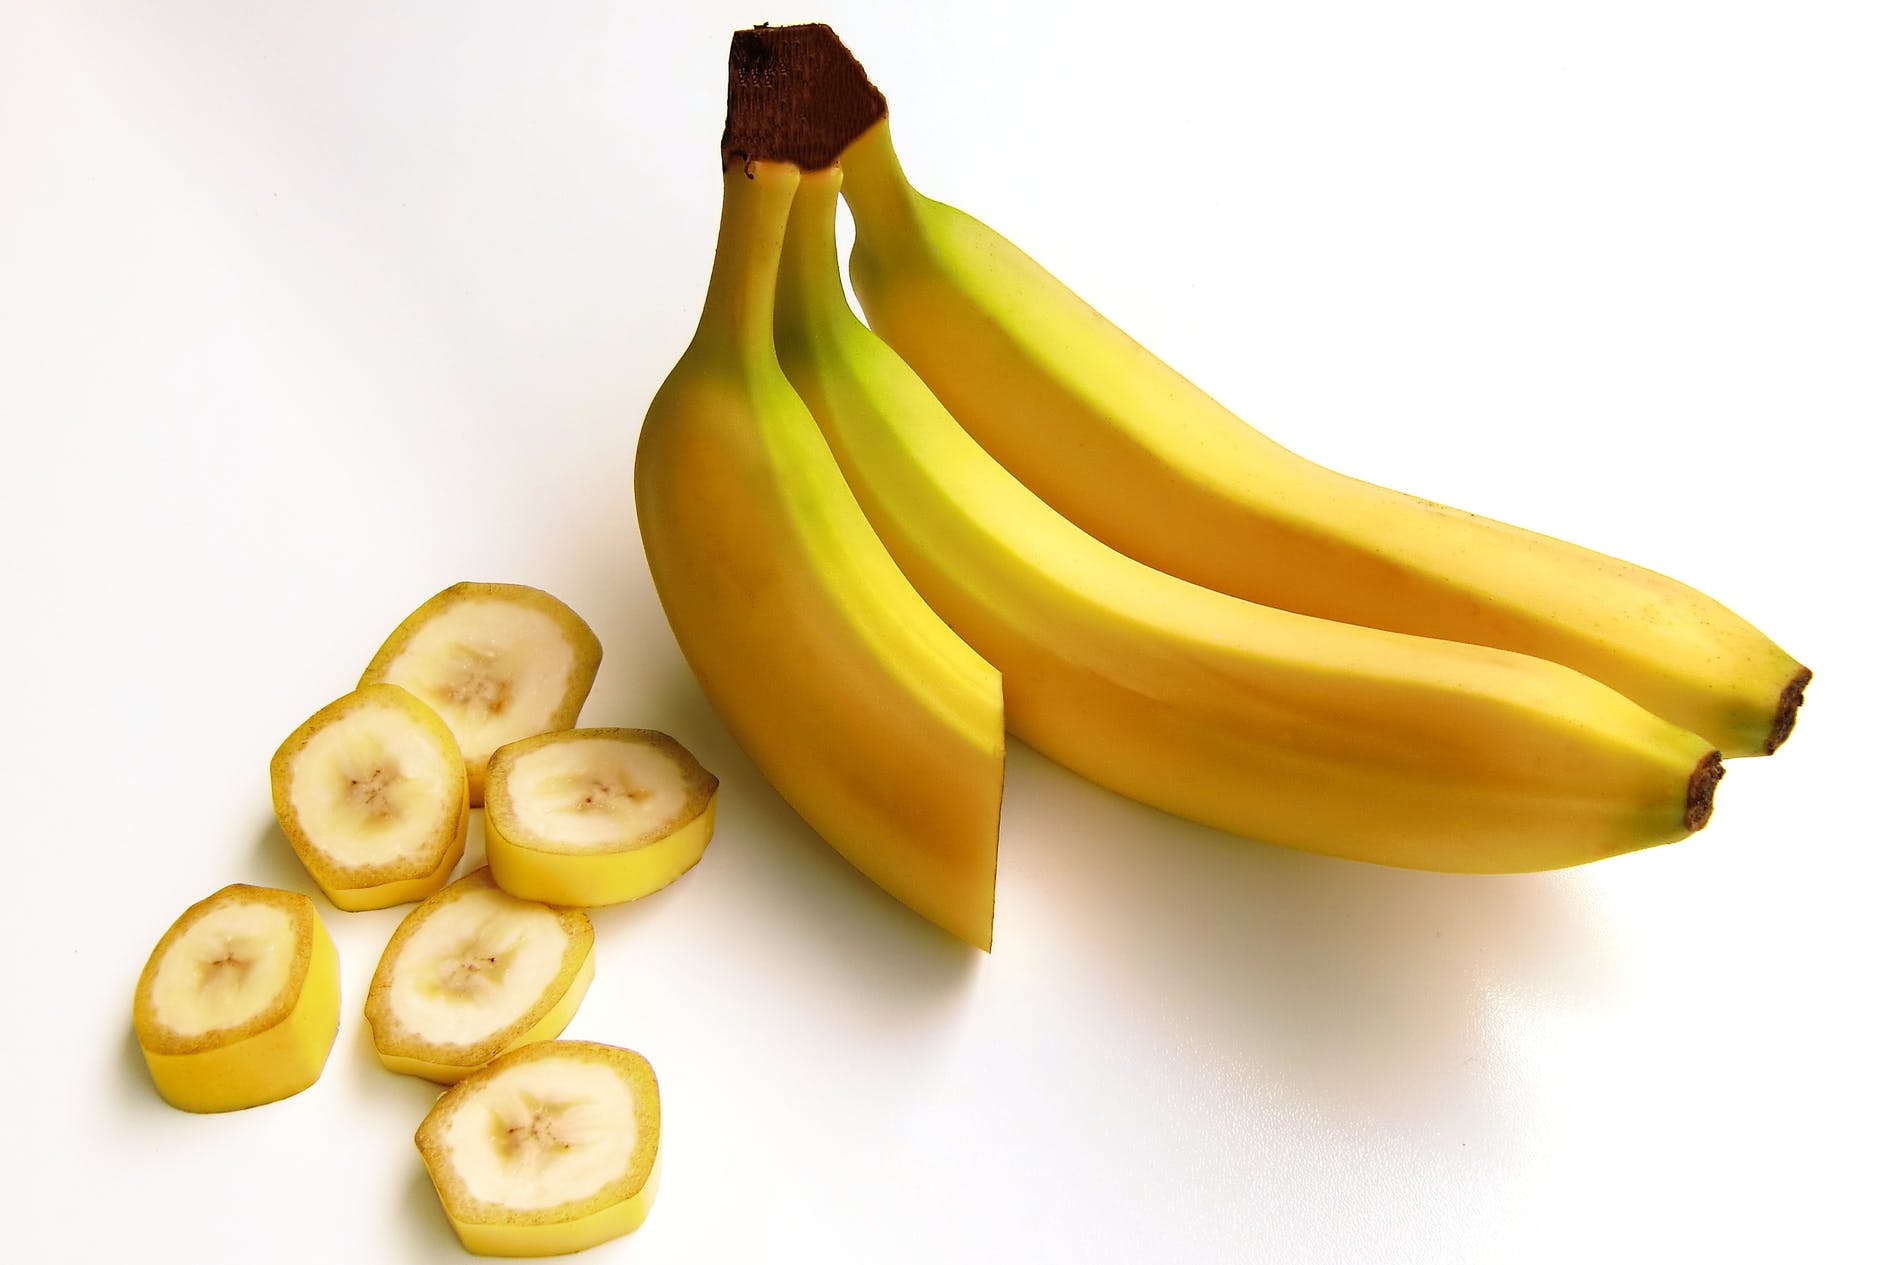
I love baking and I hate wasting food. I often overestimate how many bananas I can eat in a week. I love putting them in smoothies, which they don’t have to be perfectly ripe for, but when they start to go brown and mushy, I have to find something else to do with them. Banana bread is the perfect solution, and my recipe is foolproof!

yellow banana fruit
Photo by Pixabay on Pexels.com

You will need:

  • 2 Cups of flour (any type will do)
  • 3/4 cup of brown sugar
  • 2 mashed bananas
  • A pinch of salt
  • 1 teaspoon of baking soda
  • 1 large egg
  • 1/2 cup of butter/vegetable oil/margerine/coconut oil

Materials:

  • A whisk
  • A potato masher
  • A mixing bowl and several smaller bowls for measuring
  • A greased 8×8 inch pan
  • A spatula

Steps:

  1. Preheat your oven to 350 Degrees F. Melt the butter or oil. I like to whisk my egg separately in a small dish.
  2. Mash the bananas. I like to peel them, chop them roughly, then use a potato masher to get them nice and mashed. It is okay if there are a few chunks.
  3. Mix the dry ingredients together in the big moving bowl. Whisk together, then add in the egg, banana, and lastly the melted butter. I like to add this last so the hot butter doesn’t begin to cook the egg.
  4. I prefer to use a whisk to get all the ingredients combined, then use the spatula to scrape the edges. Pour the mixture into the greased baking pan, then pop in the oven for 45 minutes. It should look risen and golden brown on top, and slightly firm if you touch it.
  5. Allow the bread to cool, then tip it out and cut in into pieces. I like to wrap them up individually to take for a quick breakfast on the go or for a healthy dessert option in my lunch.

I like trying to use as much as I can of fruits and vegetables, so this recipe is perfect. You can add nuts or chocolate pieces if you want, but I love this recipe because you can make it with just the basics.